Turn a cheap wired printer into a wireless printer for free
Working from home was initially a huge revelation for me, and a relief since my old job didn’t allow it. While my work has been fairly supportive with their flexibility, they unfortunately were not willing to pay money for extra office equipment. So I had to buy all new stuff, which I’ve been covering here.
Normally I would never bother having my own printer since I could just use one while at the office, but suddenly I really needed one. I figured out through a lot of trial and error how I could use a cheap old printer and make it into a wireless one by changing some settings on my router and connecting the two.
Why bother doing this / do you even need a printer?
I don’t print very often, but occasionally I like to have one on hand just in case. It turned out to be a necessity before traveling internationally for instance, where I needed various documents printed out to show immigration. There’s nothing worse than trying to find somewhere to print a document in 2022 last minute, trust me.
Here’s what I did:
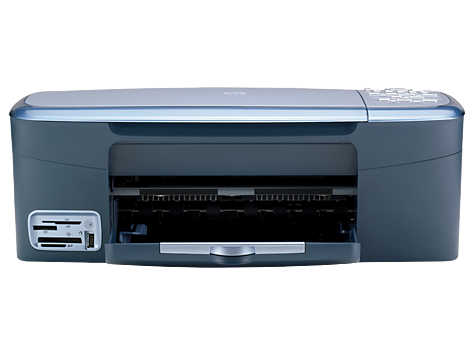
I ended up scoring an old printer off of a free stuff Facebook group, which was about what I was willing to pay for a printer. This HP printer was released in 2006, and can only be connected by USB. Since my computer wasn’t in a location where I could have a printer set up permanently, I would instead have to bring my computer to my printer. This is an annoyance with a laptop, and basically impossible with a desktop.
At some point when I was moving my router, I noticed a USB port on the back of it. I did some Googling and it turns out that this can be used for printers! A lot of routers have built-in capability to do things with USB, such as putting a printer on a network or setting up storage from a hard drive to be available on a network.

A router with USB that would work for this
After some setup, I was able to configure printing from my personal Macbook, as well as my Windows desktop. It was very easy on my Mac and a little more involved on Windows. Unfortunately, my work laptop doesn’t allow me to download drivers due to an IT lock, but this would be simple if our IT department was more lenient. I also did this without setting up software from the router manufacturers. This may have been a little easier to do, but I prefer doing this with no added software to bloat my computer.
One caveat I should mention is that despite the printer working well on my Windows and Mac computers, it is not set up as an “AirPrint” printer, meaning I can not print from my iOS device, and presumably not from an Android either.
What you need:
- Compatible router: Check that there is a USB port on it, and check the model number online to make sure that the specific model is compatible. There’s a good chance you will find no information online however, and you can just try anyway if you have a USB port on the back of your router.
- Space: This only works if your printer can physically be next to your router unless you have an extremely long USB cord, which is sometimes a less standard cord (see below)
- Printer: It doesn’t need to be a fancy printer at all, in fact I recommend doing this with the cheapest printer possible in case this doesn’t work. Mine isn’t a laser or anything like that, it’s very basic and cheap. You want a printer with a USB port on the back, which frequently has a more square shape on older printers. The USB port and cable in this case usually look like this if it isn’t a regular old USB-type A:
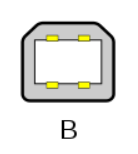
USB-Type B
- Mac or PC: I don’t think you can set this up with a smartphone or iPad
- Some patience: This isn’t the most simple setup if you have to do it the long way, but if you’ve ever manually set up a printer or a router before and accessed its settings you should be able to figure it out. With my Mac (and I double-checked on my girlfriend’s Mac too) I got lucky; it was plug and play. With Windows, I basically had to tell the computer where to look, and exactly what kind of printer I have as none of the automated options worked.
- Make sure you can access your router settings before you get too far. You may have to enable the USB function on your router, and it would really be a shame to move all your stuff around to find out that you can’t log in to your router settings!
Note: Some printers have ethernet ports on the back, which can do the same thing that I’m describing.
Setup:
I followed this article from Wikihow, which has great instructions and images. What it didn’t cover is the possibility that it may be more simple on a Mac as was my case. I’m going to paraphrase a bit, and give a bit more router information which hopefully will help. Before we do any of the physical setup we are going to make sure your drivers are up to date and that you can access your router settings.
- Ensure you have the latest printer drivers on the computer you’ll be using: Because I set this up on a computer that had at one point been directly connected to the printer, all drivers were already installed, which made this much easier. If this is the first time using the printer, it would be worthwhile to connect it directly to a computer first since this will make the computer pull the drivers automatically.
- Ensure you can access your router via a browser: To do this you usually enter an IP address into a browser. For brands such as Netgear, Linksys, and TP-Link, the IP address is either 192.168.1.1 or 192.168.0.1.
- Enter your router password: For most brands, the username and password are both “admin.” Check here for other router manufacturers’ default passwords. We just want to make sure you can access the settings here before we get too far. This may be a good time to find the USB settings and make sure printing is enabled.
- Connect your printer: Plug in your printer to power and plug the USB cable from the printer to the router. Power it on.
The next part is where it can be a bit complicated or really simple depending on your computer. Many router companies provide their own software for printing, but I wanted to do this manually as to avoid installing extra software. If the below doesn’t work, you may want to try out the router printing software. I suggest having the Wikihow article open for the next steps. Ok, back to it!
- Check and see if it works already: On my Mac at this point I went to System Preferences > Printers and Scanners > clicked the small + sign in the bottom left > and selected my printer from the list. It was this easy! If it is there try printing a test page.
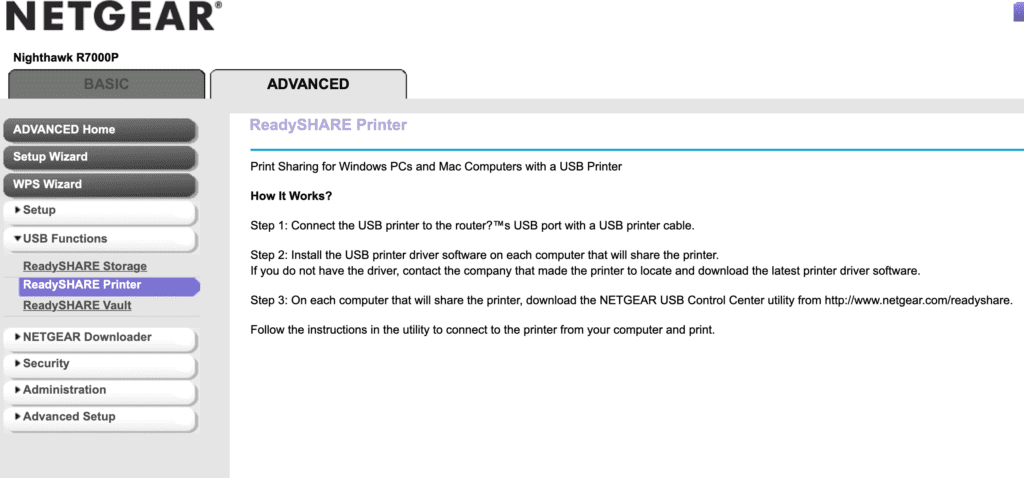
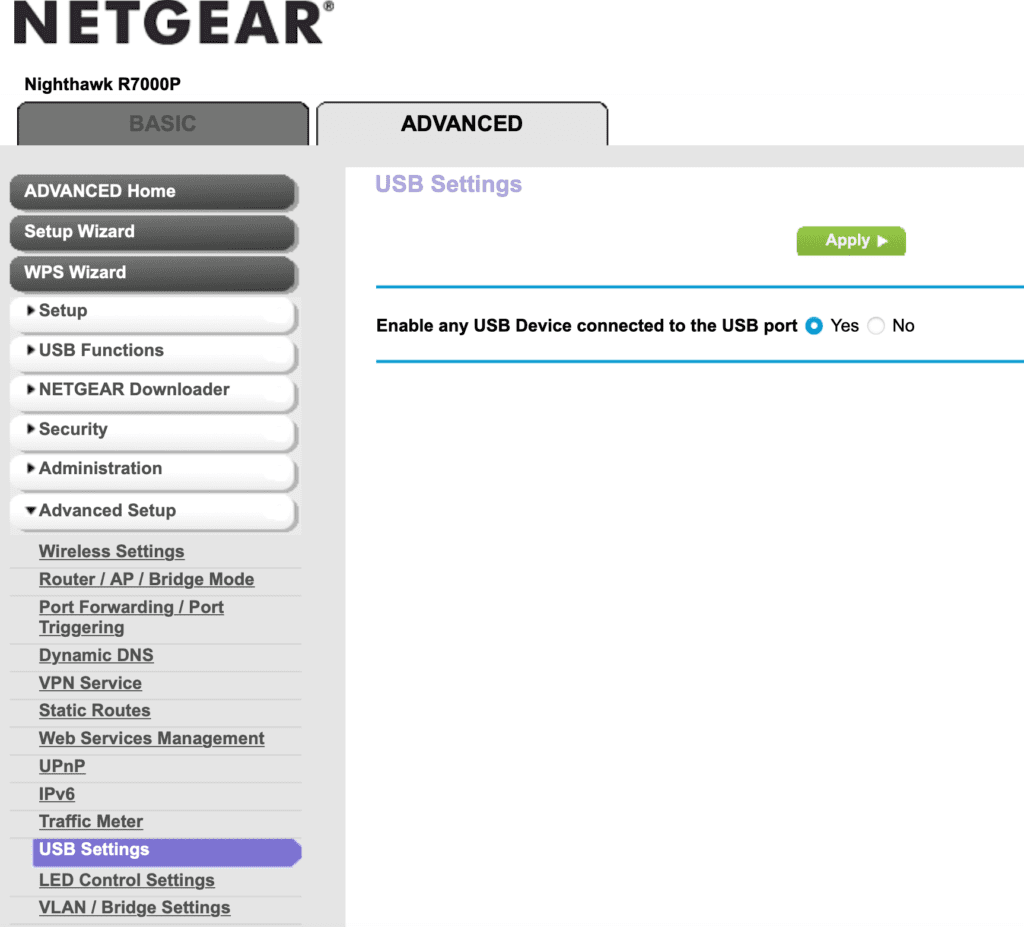
- If the printer isn’t available check router settings: Access router settings again as described above. My router and many others have an option to print wireless using their software, which I didn’t want. For Netgear, this is ReadySHARE as seen below. I instead double-checked the USB settings in Advanced setup to ensure USB devices are allowed.
- Google if needed: If you can’t find the setting for printing and/or USB functions Google is your friend here. For TP-Link it is similar, in the sections USB Settings > Print Server. In this instance, you have to select and change the status from “stop” to “start” to enable the print server.
- Check again to see if the printer is available: If you changed a setting in your router settings, it’s worth a quick check to see if your printer is available on your computer.
If at this point you are unable to see your printer you need to manually add it. I did this on my personal windows desktop to verify that it works.
Here’s what I did in Windows per Wikihow:
- Access printers from the Start Menu
- Select “Add a Printer or Scanner”
- If it doesn’t show, select “The printer that I want isn’t listed”
- Select “Add a local printer or network with manual settings, click next
- Select “Create a new port”, click next, Select “Standard TCP/IP”, and select next.
- Enter your router IP address (the same one you put in your browser to access your router settings). It will autofill some fields; select next.
- The next screen will be “Additional port information required.” Select “Custom” and then Next.
- Windows will attempt to identify the printer. This did not work for me. Instead, I had to manually find my printer. I selected “HP”, and then scrolled through all of the many printers. I found “HP PSC 2350 series” which covered my 2355 series printer.
- Click next, and choose if you want to share your printer.
- Print a test page. This is the moment of truth! If it works you are all done.
On my Mac, I didn’t have to do the above as it recognized my printer automatically. If it doesn’t work, there is a very similar procedure to the above that is in the Wikihow article under “Method 2.” I won’t cover that here since they did a great job and I didn’t even have to do this anyway, so I can’t verify it.
Wrap-up:
This process can be a little bit of a pain, but is definitely worthwhile as it can save you from having to buy a new printer. I don’t need super fast printing, as I generally just print one to ten pages maximum and don’t have to do it too often. Once set up is this a fairly elegant solution that adds modern capability to an older printer, in my case a 16 year old printer!