Ears or head hurting from headphones? I fixed these dupes with earpads
If you’ve come here there’s a good chance you have a big head like me. However, some headphones will hurt your head even if you don’t have a big head! You can have headphones that aren’t too tight, but if the earpad sizing is off it can put pressure on your ears, which is really unpleasant.
After I made my Playstation Pulse 3D headset more comfortable, I felt that I could do this with the cheap noise-canceling headphones that I bought from Amazon for about $30. They have been nice to have when I needed to fly somewhere, but they would kill my head after wearing them for more than an hour. Even my girlfriend who has a smaller head had the same issue with them! In a desperate attempt to fix this I tried stretching them out and accidentally cracked the casing. Here’s what the issue actually was and how I fixed it:
What causes headphones to hurt your ears?
Generally, there are three things that can hurt your ears and head, and even give you headaches:
- Clamping force: Headphones need to have a clamping force that exerts pressure on your head in order for them not to fall off your head, and to make a good seal with your ear and the earpad for optimum sound. If it’s too tight, you will have discomfort. One way to remedy this is to stretch the headphones gently. Many people do this by putting them over a stack of books overnight, just make sure not too crazy or you could break them. Do this for a few days or more and this should stretch them out.
- Drivers making contact with ears: The drivers are the little speakers that are inside the headphones and under the earpads. If you have ears that stick out or the earpads are shallow, the drivers can touch your ears. This means that the clamping force of the headphones will push directly on your ears, which is very uncomfortable.
- Earpad circumference too small and touching ears: The earpads should go around your ears and press on your head. If they are pressing on your ears then they’re too small and cause the same issues as above.
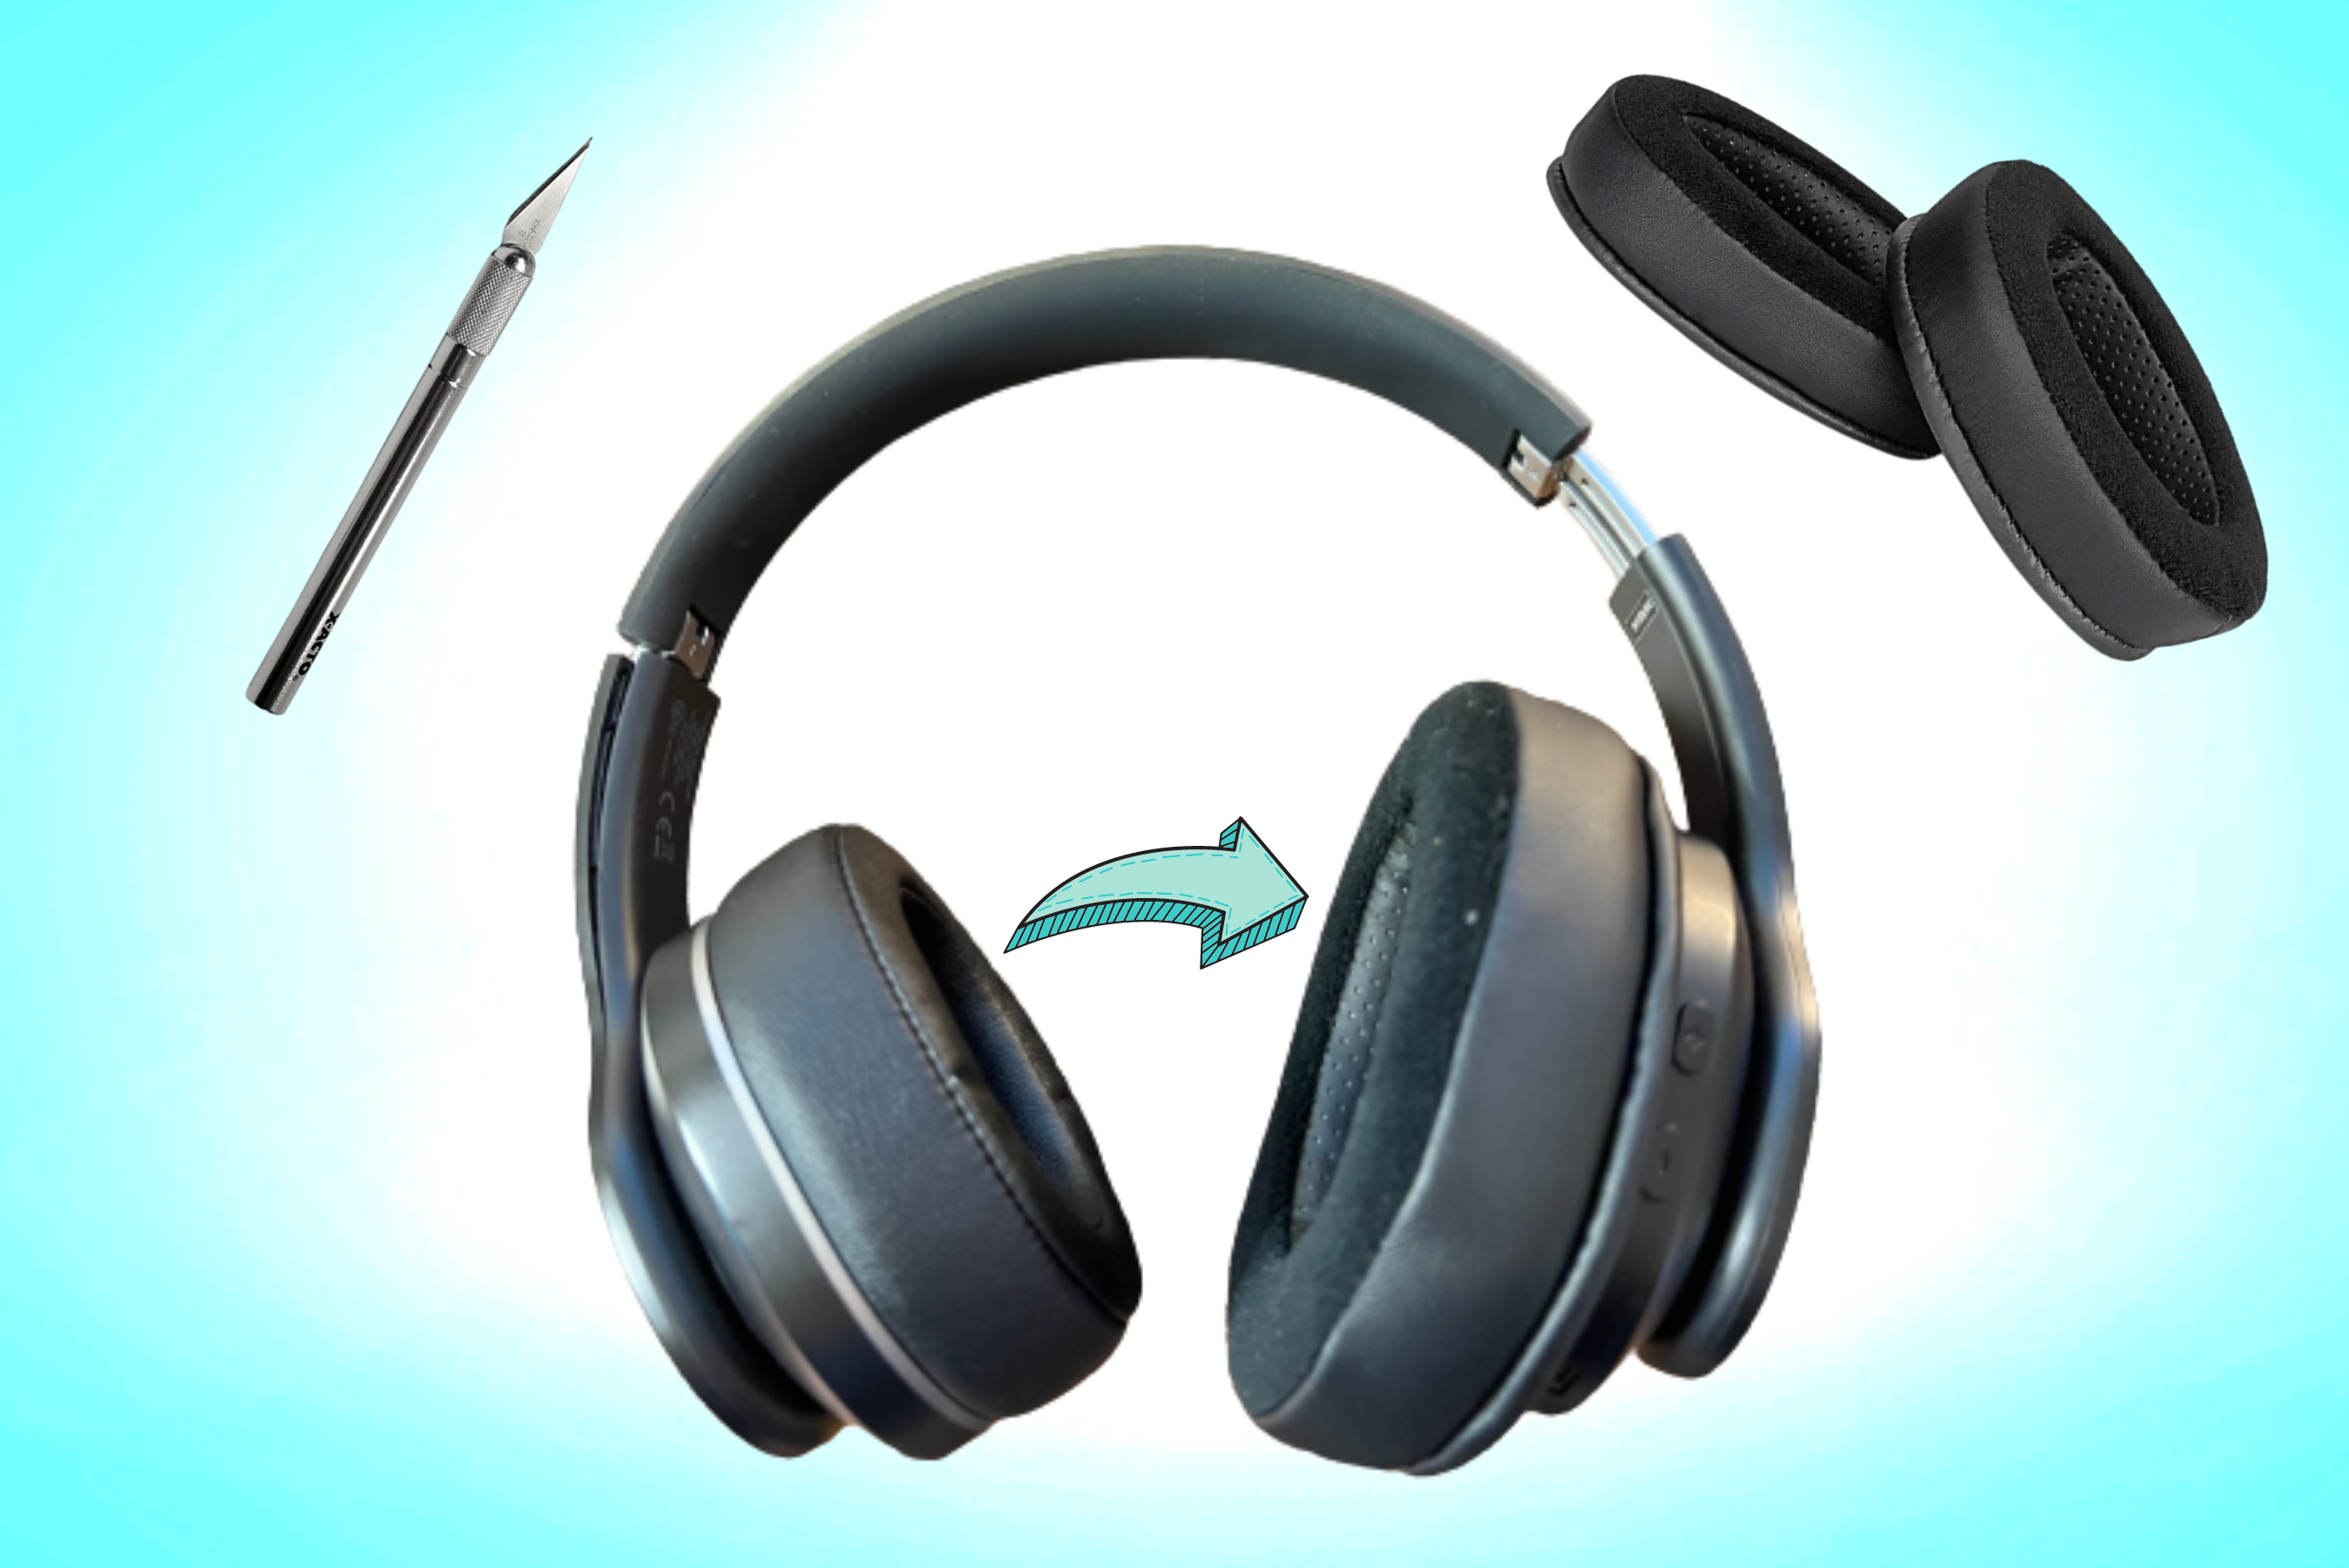
Lucky me, I had all three of the problems above! I tried stretching them out first, but I was impatient and cracked them. I fixed this with electric tape later on, but it became clear to me that I was having ear issues. Since I had some leftover earpads from my Pulse 3D mod, I decided to do the same to these. The only problem was that no one had done it before, so I was in unchartered territory.
The process is the same as I already described here, but was a little trickier.
A couple of disclaimers:
This was harder than the Pulse 3D mod! There was a moment where I thought it wouldn’t work, but I figured it out eventually. Same as before, you have to destroy your earpads on your headphones; there’s no going back.
Materials Needed:
- X-acto/precision knife
- Safety gloves to protect your hands while cutting
- Headphones. Mine are TaoTronics TT-BH047, which are not for sale anymore. Taotronics does have another newer pair available here.
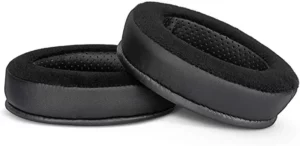
- Replacement earpads
- I used the Brainwavz Hybrid Memory Foam Earpad, which is the same size as the WC PadZ that I used on the Pulse (4.33 x 3.54 x 1.38 inches)
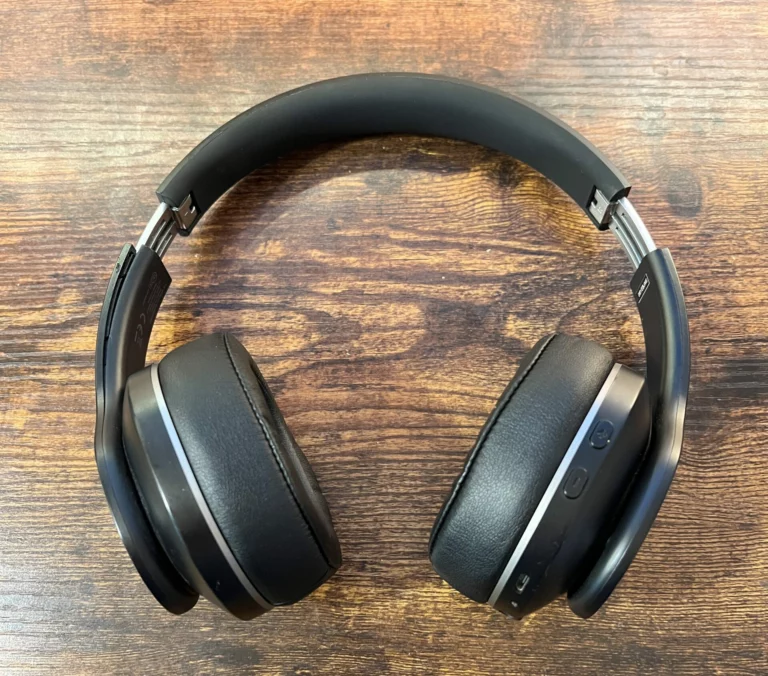
This is what the headphones looked like initially:
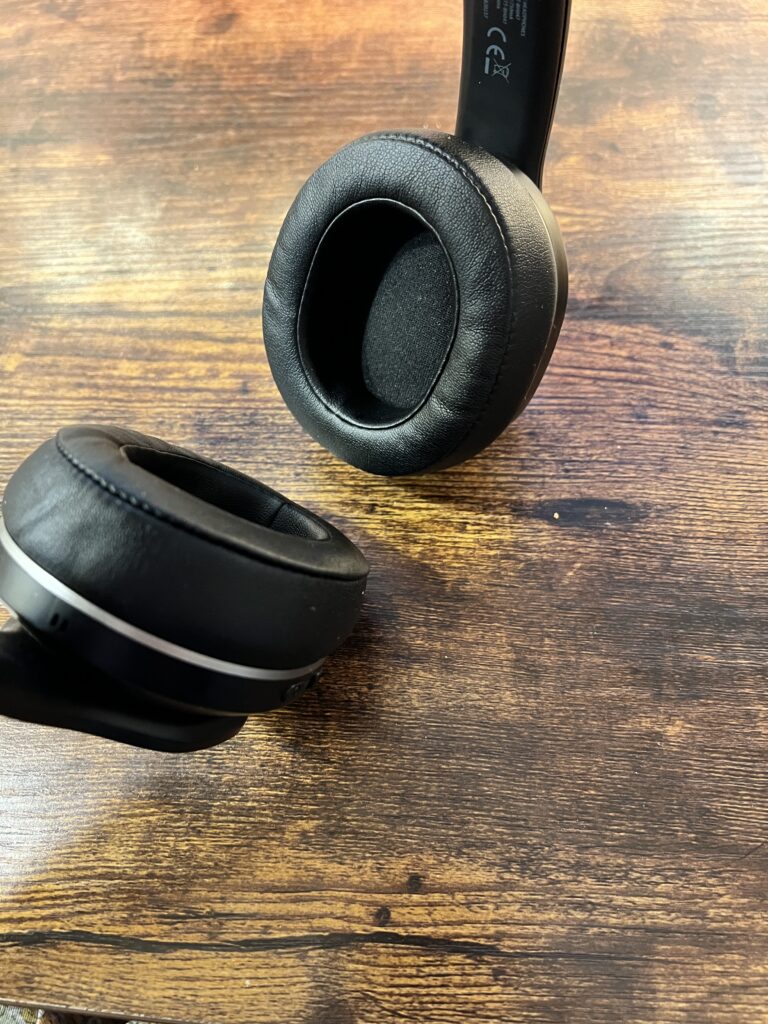
Step 1: Remove earpads/rings from headphones
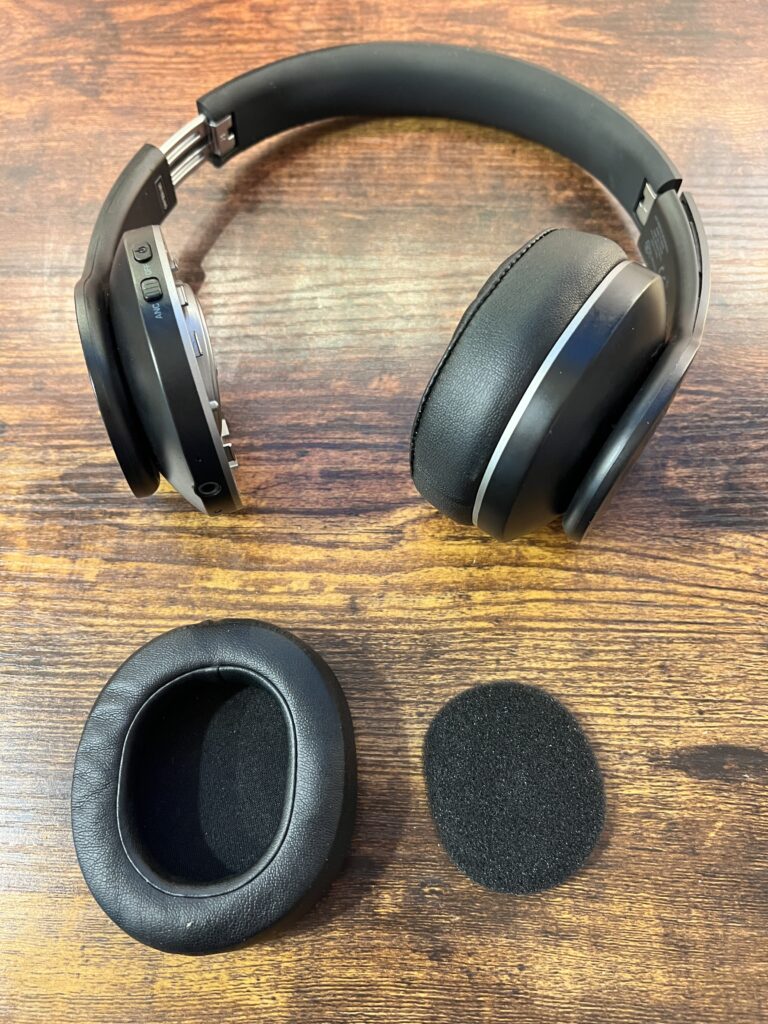
With a little bit of elbow grease, both earpads with the plastic inside should pop right off. This time there was a little piece of black foam (right) that was just sitting on top of the driver. Mine as well save that so that it can go back in.
Step 2: DESTROY (cut off stock earpads)

I started cutting here, so that I could then cut around the earpad afterwards Cutting continued, exposing the foam that needs to be removed, as well as the earpads This is what we need to unearth, as this is what clips onto the headphones themselves


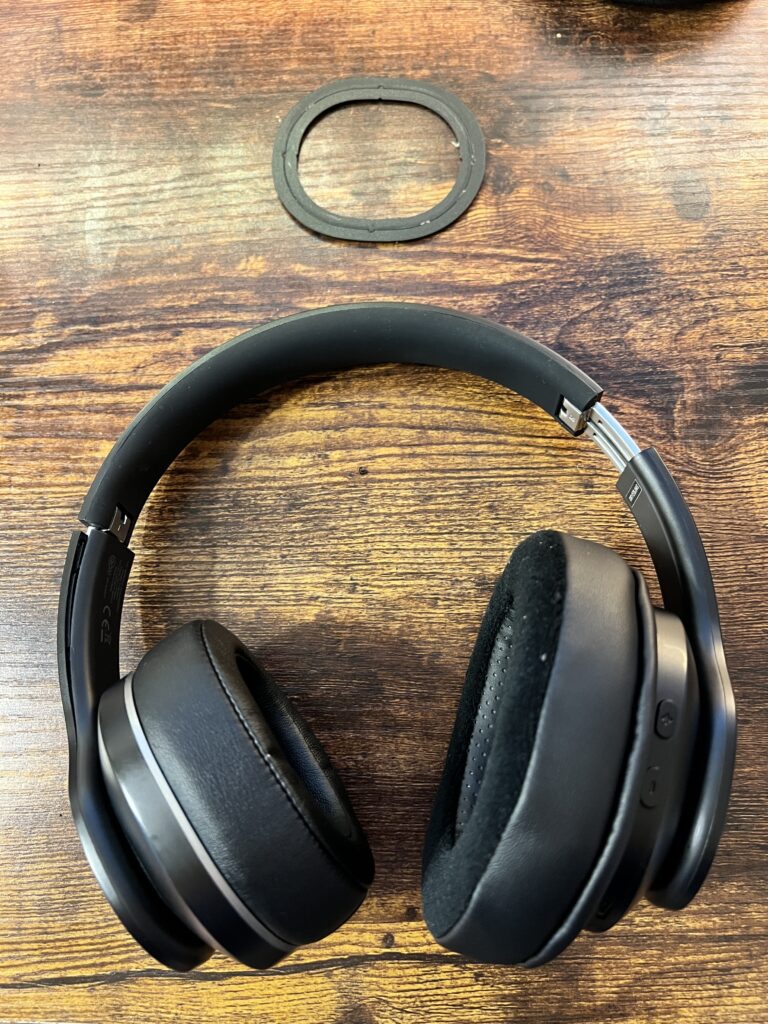
At this point, I could see that the build quality was not nearly as good as the Pulse headset. Look at how tiny and flat the plastic ring is! Not pictured was an extra piece of plastic that seemed to be doing nothing, except maybe to assist in holding the earpad. Hope we don’t need that!
Step 3: Put the plastic rings inside of the new earpads

On the new ear pads, one side would obviously face your ears. The other side has a stretchy rubber around the opening; this is the side that the plastic ring goes into. It’s very important that the ring faces the right way! I attached the ring alone to the headphones to get an idea of which way it was supposed to be facing.
Step 4: Attach the ear pads/rings back onto the headset
This is the hard part. Luckily the plastic ring isn’t a circle, as that would have made it near impossible to align correctly. This is because it was a shape that I could tell by feel when it was aligned right, whereas a circle I could rotate infinitely and it would always feel lined up with another circle (There’s definitely a more scientific way to explain this; non-concentric?).
For a little more detail, refer to step 5 of the Pulse Mod that I’ve linked. Basically you need to re-attach the plastic rings to the headphones, except now the earpads are a bit of an obstacle. I put the little plastic foam back on the driver, and then put the ring with earpads loosely on it. Then, feeling through the earpad to get an idea of the plastic shape, I lined it up with the headphones. When I thought it was lined up, I’d start pressing the two together (like tightly gripping a hamburger). Make small adjustments to the alignment, and if it still isn’t going give the fabric of the earpads a little pull to make sure it isn’t obstructing the plastic.
Most of all, be patient! Eventually I got it, and then when I knew what I was doing the second one went on much easier.
How’d they come out?

This mod was pretty hairy at times. At a certain point, I almost gave up and thought I’d either have to throw them out or use glue to make it work. But I’m happy to say that they are way more comfortable! I’ve been using them for over a week as my work headset, which is a good test since I leave them on for hours and listen to lots of music.
My golden standard for sound is the Philips Audio Philips SHP9500. They are the best-sounding and most comfortable headphones I’ve ever used, but unfortunately, they are wired only and leak sound like crazy. These dupe headphones are now very close in comfort. I no longer have pressure on my ears from the pads or drivers at all. The clamping strength is a little more than the Philips, but not so much to cause discomfort. The sound isn’t as good, but not in a noticeable way. I have to compare one right after the other to notice any difference, but once I made a new profile in Boom 3D I was able to make the sound difference negligible.
I will say that the Taotronics look uglier than some more premium headsets, and I wouldn’t be as eager to use them in public every day. The way the cans protrude off of your head looks a little silly. But for hanging around the house, or even the occasional plane trip I don’t mind.
Wrap-up
For whatever reason, manufacturers don’t make headphones come in different sizes. When you buy a helmet, you can get a small, medium, large, or even extra large! Headphones are made to fit everyone’s head, which usually leaves some people out. The headphones that do feel nice on my head and have Bluetooth tend to cost hundreds of dollars, but what I did here only cost about $20 for the replacement earpads plus $30 for the headphones.
$50 is quite the bargain for a functional pair of headphones! Now I no longer get headaches or ear pain from wearing them and can use them much more often.